Nuxt + Ionic Local Development
Nuxt is a powerful framework based on Vue, with file-based routing, code splitting, auto-imports, zero-config TypeScript support, etc., while [Ionic](https:// ionicframework.com/) allows us to use Web to build modern, high quality cross-platform mobile apps. Is it possible to combine the two for development?
Fortunately, Nuxt provides the @nuxt/ionic module to integrate with Ionic. Unfortunately, as of v0.13.1, Nuxt + Ionic local development is still a challenge, and if you follow the documentation, you're likely to run into bugs and not be able to move forward. The purpose of this article is to document the process of reproducing local development errors and exploring possible solutions.
Replicating Local Development Errors
Let's start by trying to develop locally according to the documentation. My development environment is macos Sonoma 14.4.1, Node.js v20.11.0 and PNPM v8.15.5.
Refer to Nuxt Docs > Installation to create a new Nuxt project.
pnpm dlx nuxi@latest init nuxt-ionicSet shamefully-hoist to true in .npmrc.
shamefully-hoist=trueRefer to @nuxt/ionic Docs > Installation to install @nuxt/ionic, Android Studio, etc. Refer to React Native > Build Development Environment to configure the environment and create an emulator.
pnpm install --force && pnpm install @nuxtjs/ionic -DUpdate nuxt.config.ts.
// https://nuxt.com/docs/api/configuration/nuxt-config
export default defineNuxtConfig({
  devtools: { enabled: true },
  modules: ['@nuxtjs/ionic'],
  ssr: false,
});Install the dependencies again and trigger the postinstall hook, which lets Nuxt create the Ionic-related files.
pnpm installRefer to @nuxt/ionic Docs > Enabling Capacitor to enable Capacitor.
pnpm add -g @ionic/cli
ionic config set -g npmClient pnpm
ionic integrations enable capacitor
ionic capacitor add ios
ionic capacitor add androidRefer to @nuxt/ionic Docs > Routing to update app.vue.
<template>
  <ion-page>
    <ion-header>
      <ion-toolbar>
        <ion-title>Home</ion-title>
      </ion-toolbar>
    </ion-header>
    <ion-content class="ion-padding">Hello World</ion-content>
  </ion-page>
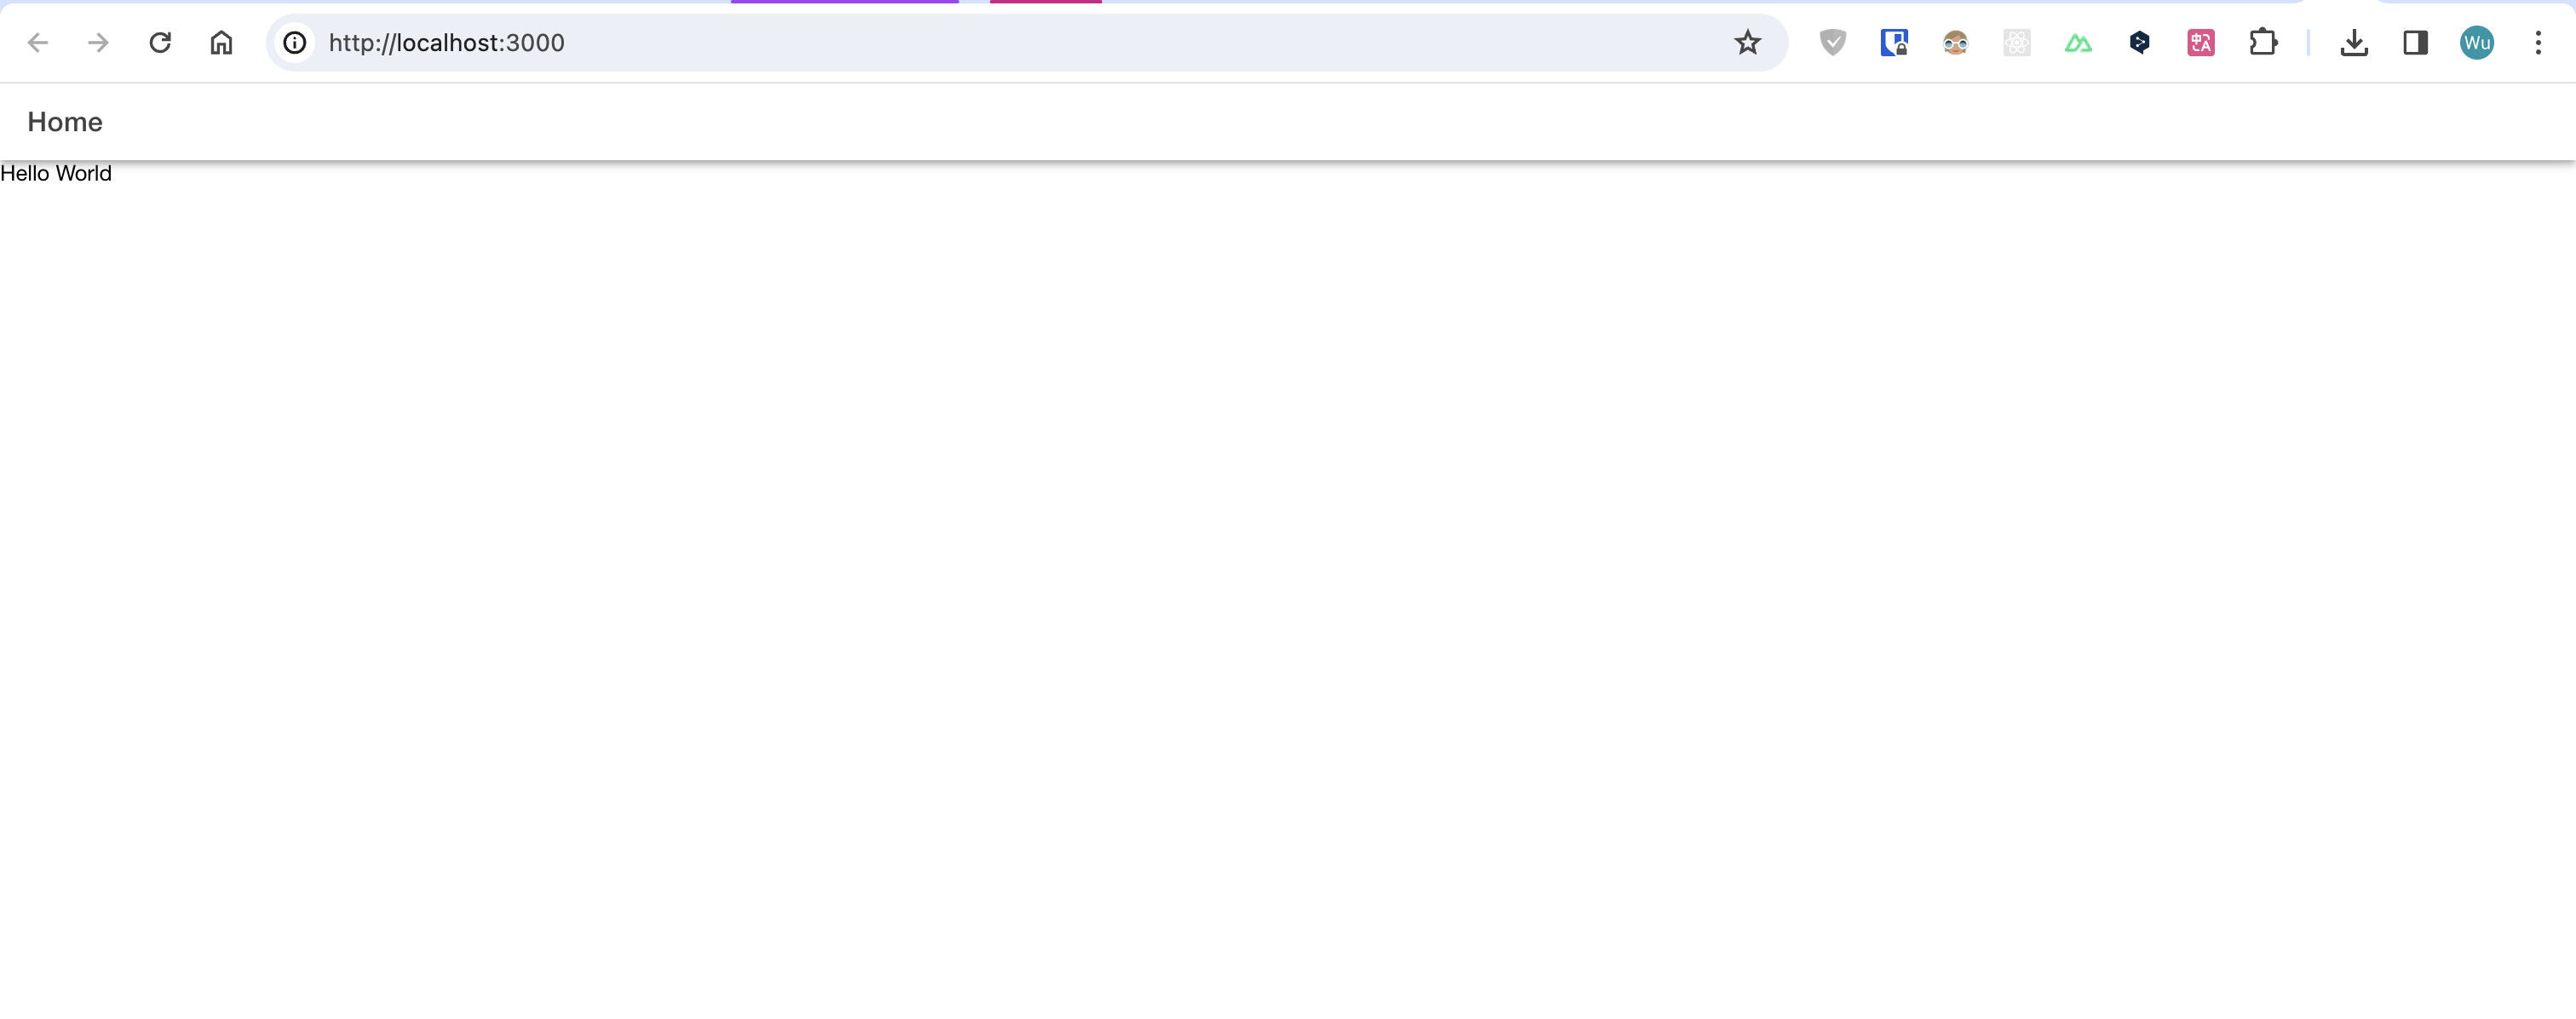
</template>At this point, the project has been initialized, you can start the project with pnpm run dev -o and you will see the following page in your browser.
Developing a mobile application is not just about running the project on a browser, we also need to run the project on an emulator or a real machine, as demonstrated here using Android. Referring to @nuxt/ionic Docs > Local Development, create . /scripts/android.sh and write the following.
#!/bin/bash
LIP=$(ipconfig getifaddr en0)

echo "🍦 Starting local development to android device - ensure local dev server is running already"
echo "🏗️ Type checking and building for development..."
pnpm run build:dev
echo "🔃 Capacitor installation, podfile installation, sync and copy to app distribution folders..."
npx @ionic/cli capacitor sync android --no-build
echo "🏃 Select an Android device to run the build at local ip address ${LIP} on..."
eval "npx @ionic/cli capacitor run android --livereload-url=http://${LIP}:3000 --external --mode development"Update the scripts field in package.json.
{
  "scripts": {
    "android": "bash ./scripts/android.sh"
  }
}🥰 Let's start the project with anticipation!
pnpm run android😱 The result is a vicious error!

If you are using Windows, it is recommended to use the Git Bash that came with your Git installation.
ipconfig getifaddr en0command may report an error, and the error message may not match the legend I provided, so you can skip it and go straight to the next section, which removes the command later.
Explore possible solutions
Let's take a closer look at the errors. The first error is Missing script: build:dev, which means that the command build:dev does not exist. The second and third errors are Could not find the web assets directory: . /dist, which means that the dist directory does not exist.
If you're familiar with Nuxt, then I'm sure the answer to this is to generate the dist directory via pnpm run generate, so that the rest of the process can run correctly. If you're not familiar with it, what should you do? The easiest and most efficient way is to go through the @nuxt/ionic and Ionic documentation again. In @nuxt/ionic Docs > Enabling Capacitor, the steps are outlined.
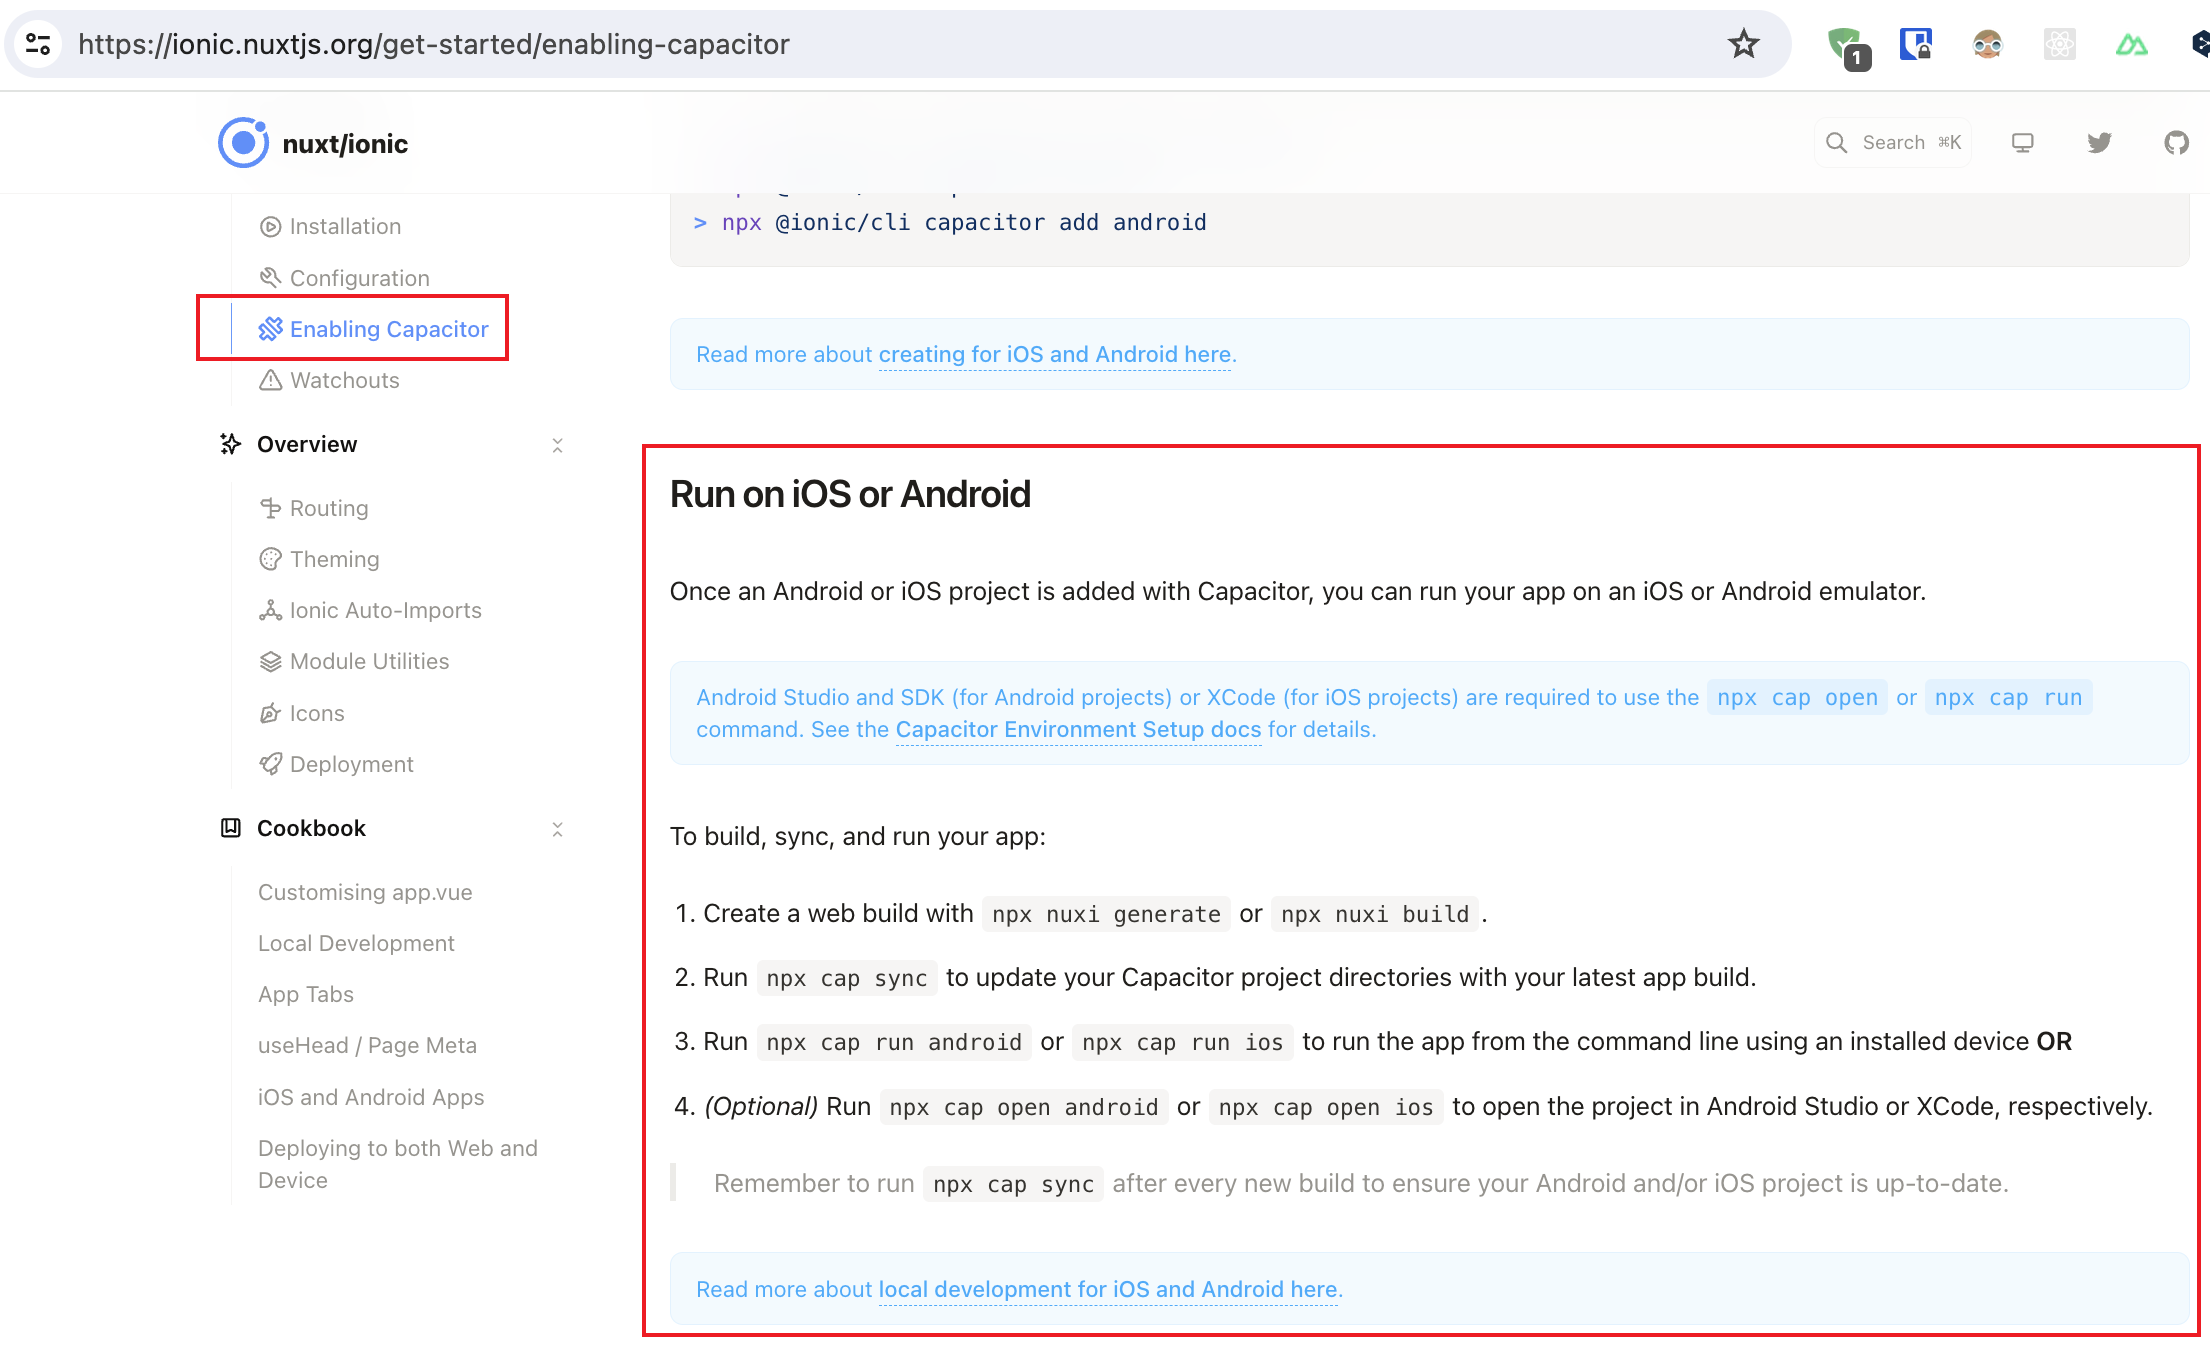
- The error message indicates that we need to generate a
distdirectory. The@nuxt/ionicdocumentation says we can usenuxi generateornuxi buildto generate it, but in fact onlynuxi generategenerates thedistdirectory, so we need to usenuxi generate, which means runningpnpm run generate. So we need to usenuxi generate, which means runningpnpm run generate. - we need to run
npx cap sync(thenpx @ionic/cli capacitor syncused earlier) to synchronize thedistdirectory. - We need to run
npx cap open ${platform}(also known as@ionic/cli capacitor run) to open the app for the corresponding platform (Android / iOS).
Let's replace pnpm run build:dev with pnpm run generate and try starting it again.
#!/bin/bash
LIP=$(ipconfig getifaddr en0)

echo "🍦 Starting local development to android device - ensure local dev server is running already"
echo "🏗️ Type checking and building for development..."
pnpm run build:dev
pnpm run generate
echo "🔃 Capacitor installation, podfile installation, sync and copy to app distribution folders..."
npx @ionic/cli capacitor sync android --no-build
echo "🏃 Select an Android device to run the build at local ip address ${LIP} on..."
eval "npx @ionic/cli capacitor run android --livereload-url=http://${LIP}:3000 --external --mode development"This time it doesn't report an error in the terminal, but it does in the Android emulator.
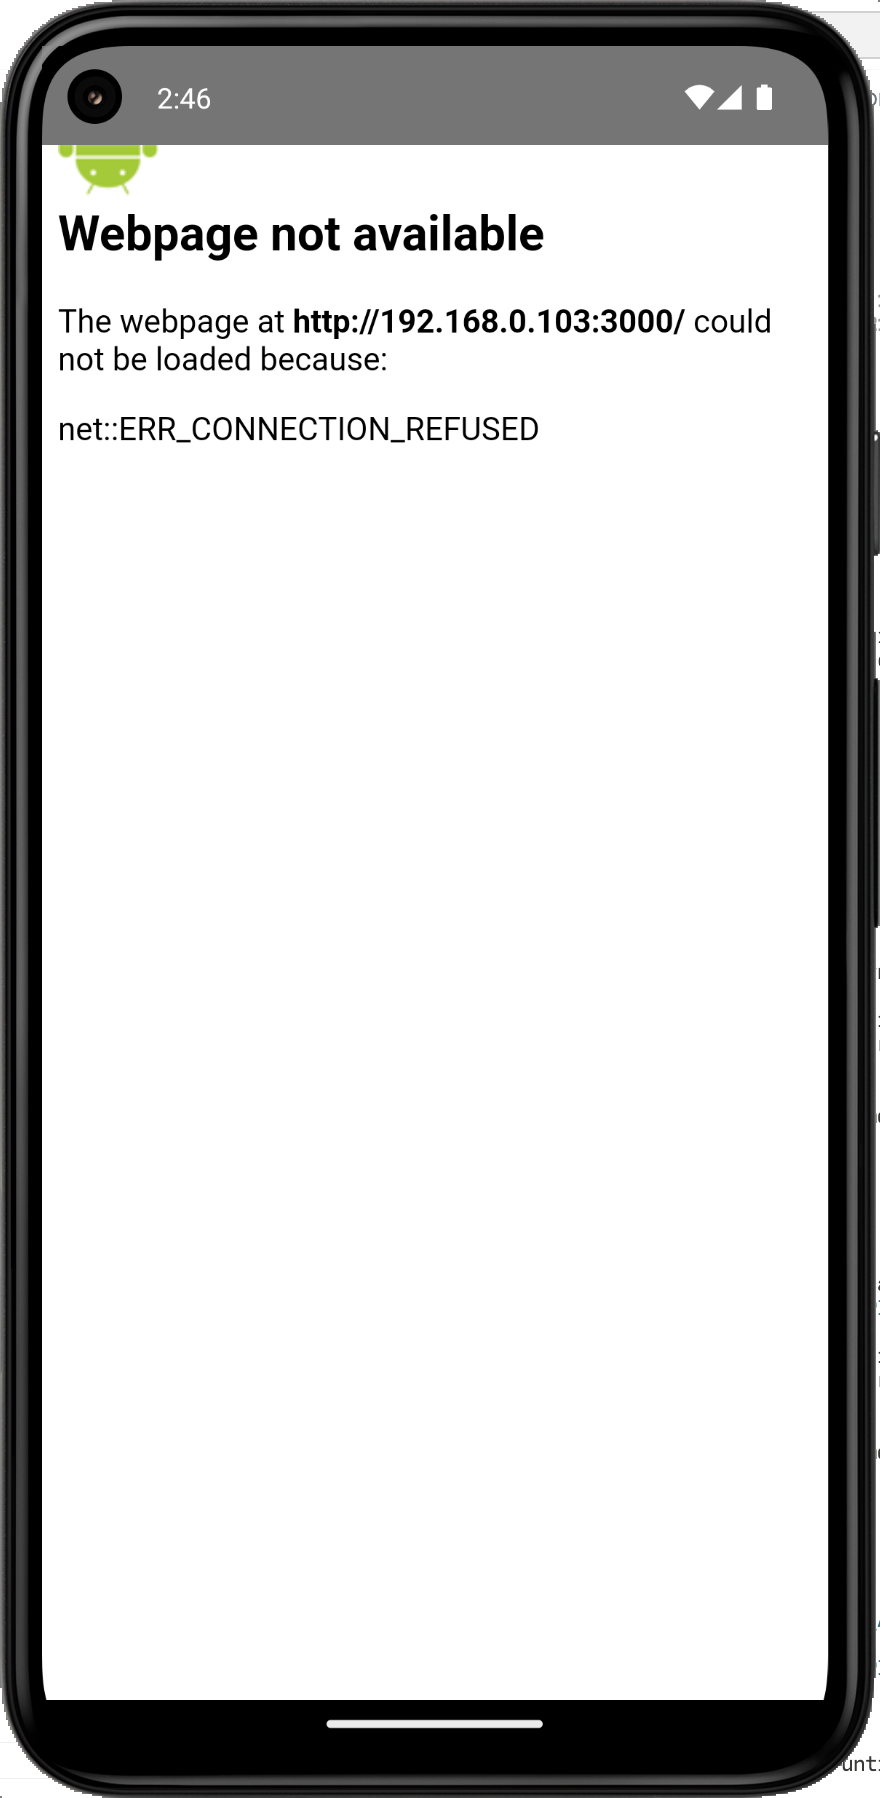
It says here that it can't connect to http://192.168.0.103:3000, but in reality we don't need to connect here at all, we can remove the relevant part and try to start it again.
#!/bin/bash
LIP=$(ipconfig getifaddr en0)

echo "🍦 Starting local development to android device - ensure local dev server is running already"
echo "🏗️ Type checking and building for development..."
pnpm run generate
echo "🔃 Capacitor installation, podfile installation, sync and copy to app distribution folders..."
npx @ionic/cli capacitor sync android --no-build
echo "🏃 Select an Android device to run the build at local ip address ${LIP} on..."
eval "npx @ionic/cli capacitor run android --livereload-url=http://${LIP}:3000 --external --mode development"
echo "🏃 Select an Android device to run the build at local on..."
npx @ionic/cli capacitor run android --externalThis step also removes the invocation of the
ipconfig getifaddr en0command, and the results of the following steps should be consistent across systems.
This time a new prompt appears in the terminal. It wants to run vue-cli-service build but doesn't find @vue/cli-service and asks if we want to install it.

But we already have the dist directory, so why build it? Let's add the --no-build parameter to skip this step and try starting again.
#!/bin/bash
echo "🍦 Starting local development to android device - ensure local dev server is running already"
echo "🏗️ Type checking and building for development..."
pnpm run generate
echo "🔃 Capacitor installation, podfile installation, sync and copy to app distribution folders..."
npx @ionic/cli capacitor sync android --no-build
echo "🏃 Select an Android device to run the build at local on..."
npx @ionic/cli capacitor run android --external
npx @ionic/cli capacitor run android --external --no-build🎉 This time we found the Android simulator working properly!
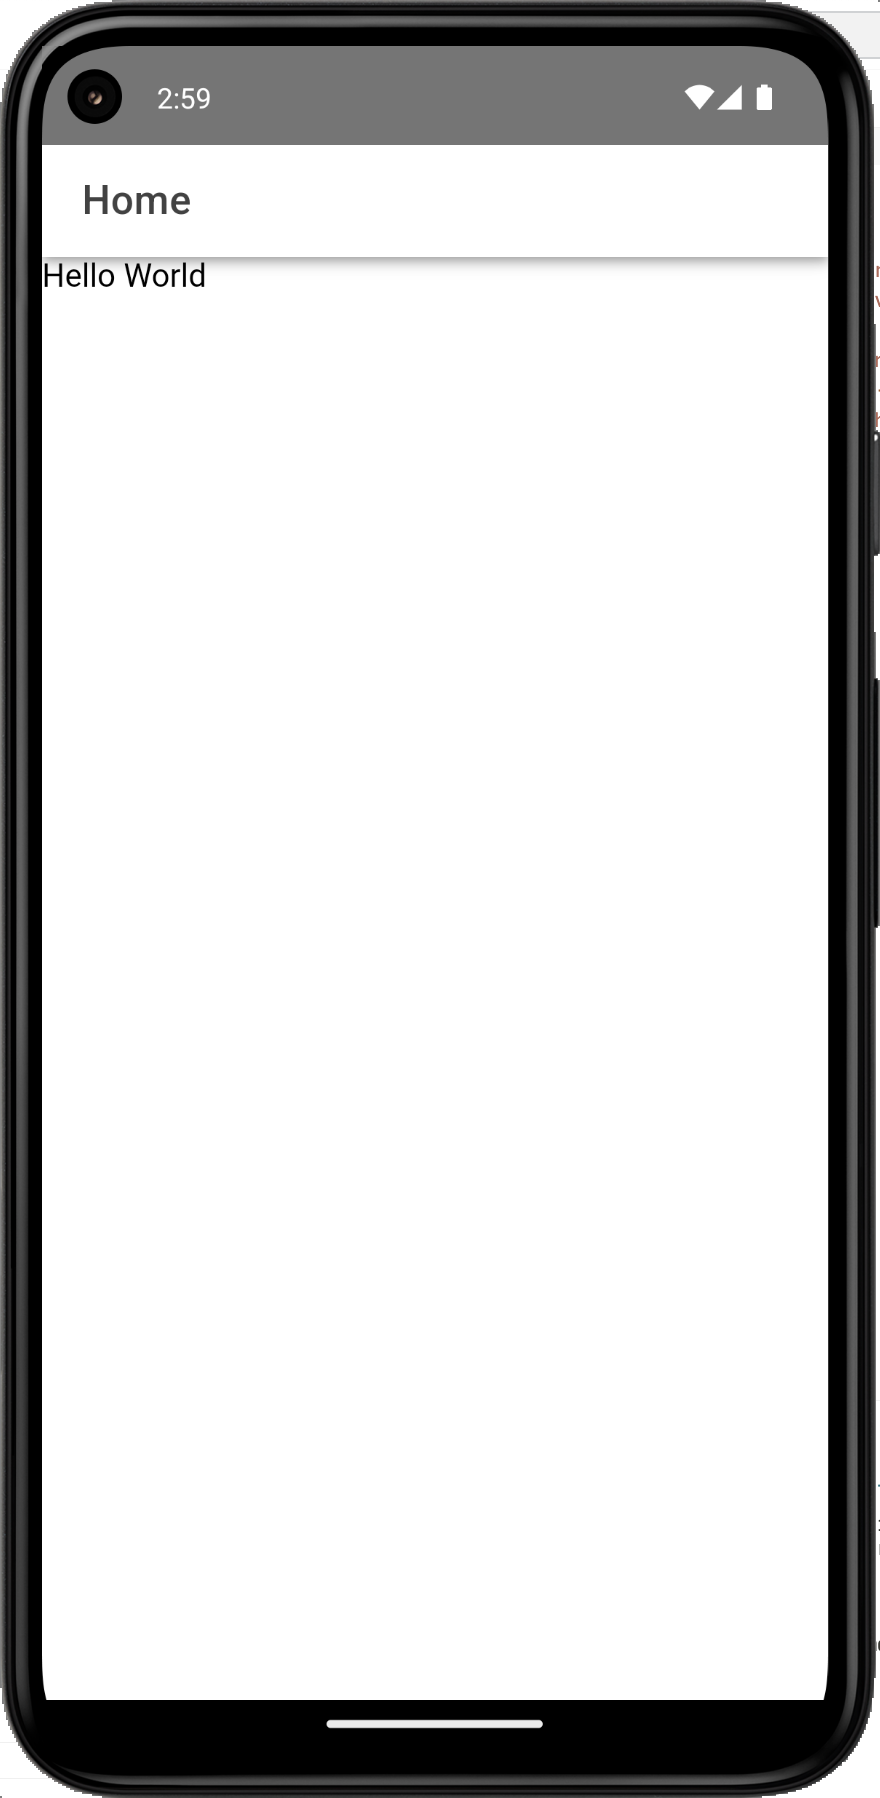
😔 Unfortunately, the terminal just exits, which means that after we change the code, we still need to manually run pnpm run android in order to see the latest code results. Is there any way to run it automatically after changing the code? 🤔
When you don't have a clue, asking AI is a good option. I'm using the VSC free plugin Codeium here.
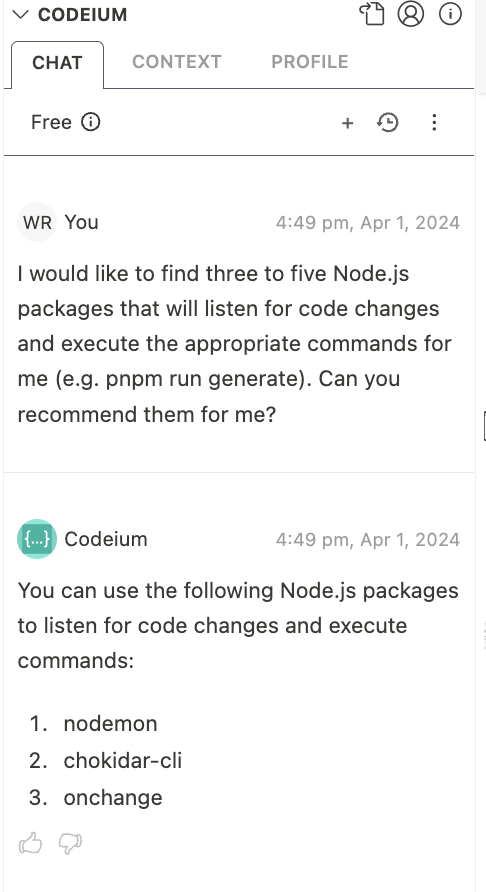
We can check them one by one, and the first one nodemon turns out to be very good, so let's use it. In fact, nodemon is one of the most widely used packages for our needs.
pnpm install nodemon -DThere are a lot of directories and file types we need to listen to, and the scripts field in package.json would be very long, so we'll use the configuration file nodemon.json to set up nodemon.
{
  "ignore": [".git", "**/node_modules/"],
  "watch": [
    "./assets",
    "./components",
    "./composables",
    "./content",
    "./layouts",
    "./middleware",
    "./modules",
    "./pages",
    "./plugins",
    "./public",
    "./server",
    "./utils",
    "./.env",
    "./app.vue",
    "./app.config.ts",
    "./capacitor.config.json",
    "./error.vue",
    "./ionic.config.json",
    "./nuxt.config.ts",
    "./tsconfig.json"
  ],
  "ext": "json,js,jsx,ts,tsx,vue"
}Finally, update the scripts field in package.json.
{
  "scripts": {
    "android": "nodemon --exec \"bash ./scripts/android.sh\""
  }
}Running pnpm run android again to check it results in another hard error! 😡

This is because when we use nodemon, we can't interact with the terminal and the command npx @ionic/cli capacitor run android --external --no-build doesn't specify a target, which results in an error.
We can fix this by running ionic capacitor run android --list to get the optional devices and automatically pass the first device ID.
#!/bin/bash
target=$(ionic capacitor run android --list | awk 'NR>3 {print $NF; exit}')

echo "🍦 Starting local development to android device - ensure local dev server is running already"
echo "🏗️ Type checking and building for development..."
pnpm run generate
echo "🔃 Capacitor installation, podfile installation, sync and copy to app distribution folders..."
npx @ionic/cli capacitor sync android --no-build
echo "🏃 Select an Android device to run the build at local on..."
npx @ionic/cli capacitor run android --external --no-build
eval "npx @ionic/cli capacitor run android --external --no-build --target=${target}"If you are using Windows, you need to install the
awkcommand first, e.g. using chocolatey:choco install awk.
Then run pnpm run android again to check that everything is working now, and you can see the latest code effect after modifying the code! 🎉
The script provided above can be adapted to iOS with some simple modifications, so I won't repeat it here. The final package.json is as follows.
{
  "name": "nuxt-app",
  "private": true,
  "type": "module",
  "scripts": {
    "build": "nuxt build",
    "dev": "nuxt dev",
    "generate": "nuxt generate",
    "preview": "nuxt preview",
    "postinstall": "nuxt prepare",
    "android": "nodemon --exec \"bash ./scripts/android.sh\""
  },
  "dependencies": {
    "@capacitor/android": "5.7.4",
    "@capacitor/app": "5.0.7",
    "@capacitor/core": "5.7.4",
    "@capacitor/haptics": "5.0.7",
    "@capacitor/ios": "5.7.4",
    "@capacitor/keyboard": "5.0.8",
    "@capacitor/status-bar": "5.0.7",
    "nuxt": "^3.11.1",
    "vue": "^3.4.21",
    "vue-router": "^4.3.0"
  },
  "devDependencies": {
    "@capacitor/cli": "5.7.4",
    "@nuxtjs/ionic": "^0.13.1",
    "nodemon": "^3.1.0"
  }
}Summary
This article documents the process of combining Nuxt and Ionic for local development, including configuring the environment, creating a project, encountering problems, and exploring solutions.
There may be some deficiencies in the documentation of the combination of Nuxt and Ionic, but we can improve this part of the use of Nuxt by reading and understanding the error messages, and combining the official documentation, community resources, and AI assistance.
I hope this article has inspired and helped you!
